How to Install Ceiling Fans in Bethesda, MD: A Step-by-Step Guide
Why Install Ceiling Fans?
Ceiling fans are a fantastic addition to any home, providing both aesthetic appeal and energy efficiency. They help circulate air, reducing the need for air conditioning, which can lead to cost savings on your energy bills. If you're considering installing a ceiling fan in Bethesda, MD, this guide will walk you through the process step-by-step.

Tools and Materials You'll Need
Before starting the installation, gather the necessary tools and materials. You will need a screwdriver, a voltage tester, wire cutters, wire strippers, and a ladder. Additionally, ensure you have a fan-rated electrical box and the ceiling fan kit itself. Having everything ready at hand will make the process smoother and more efficient.
Safety First
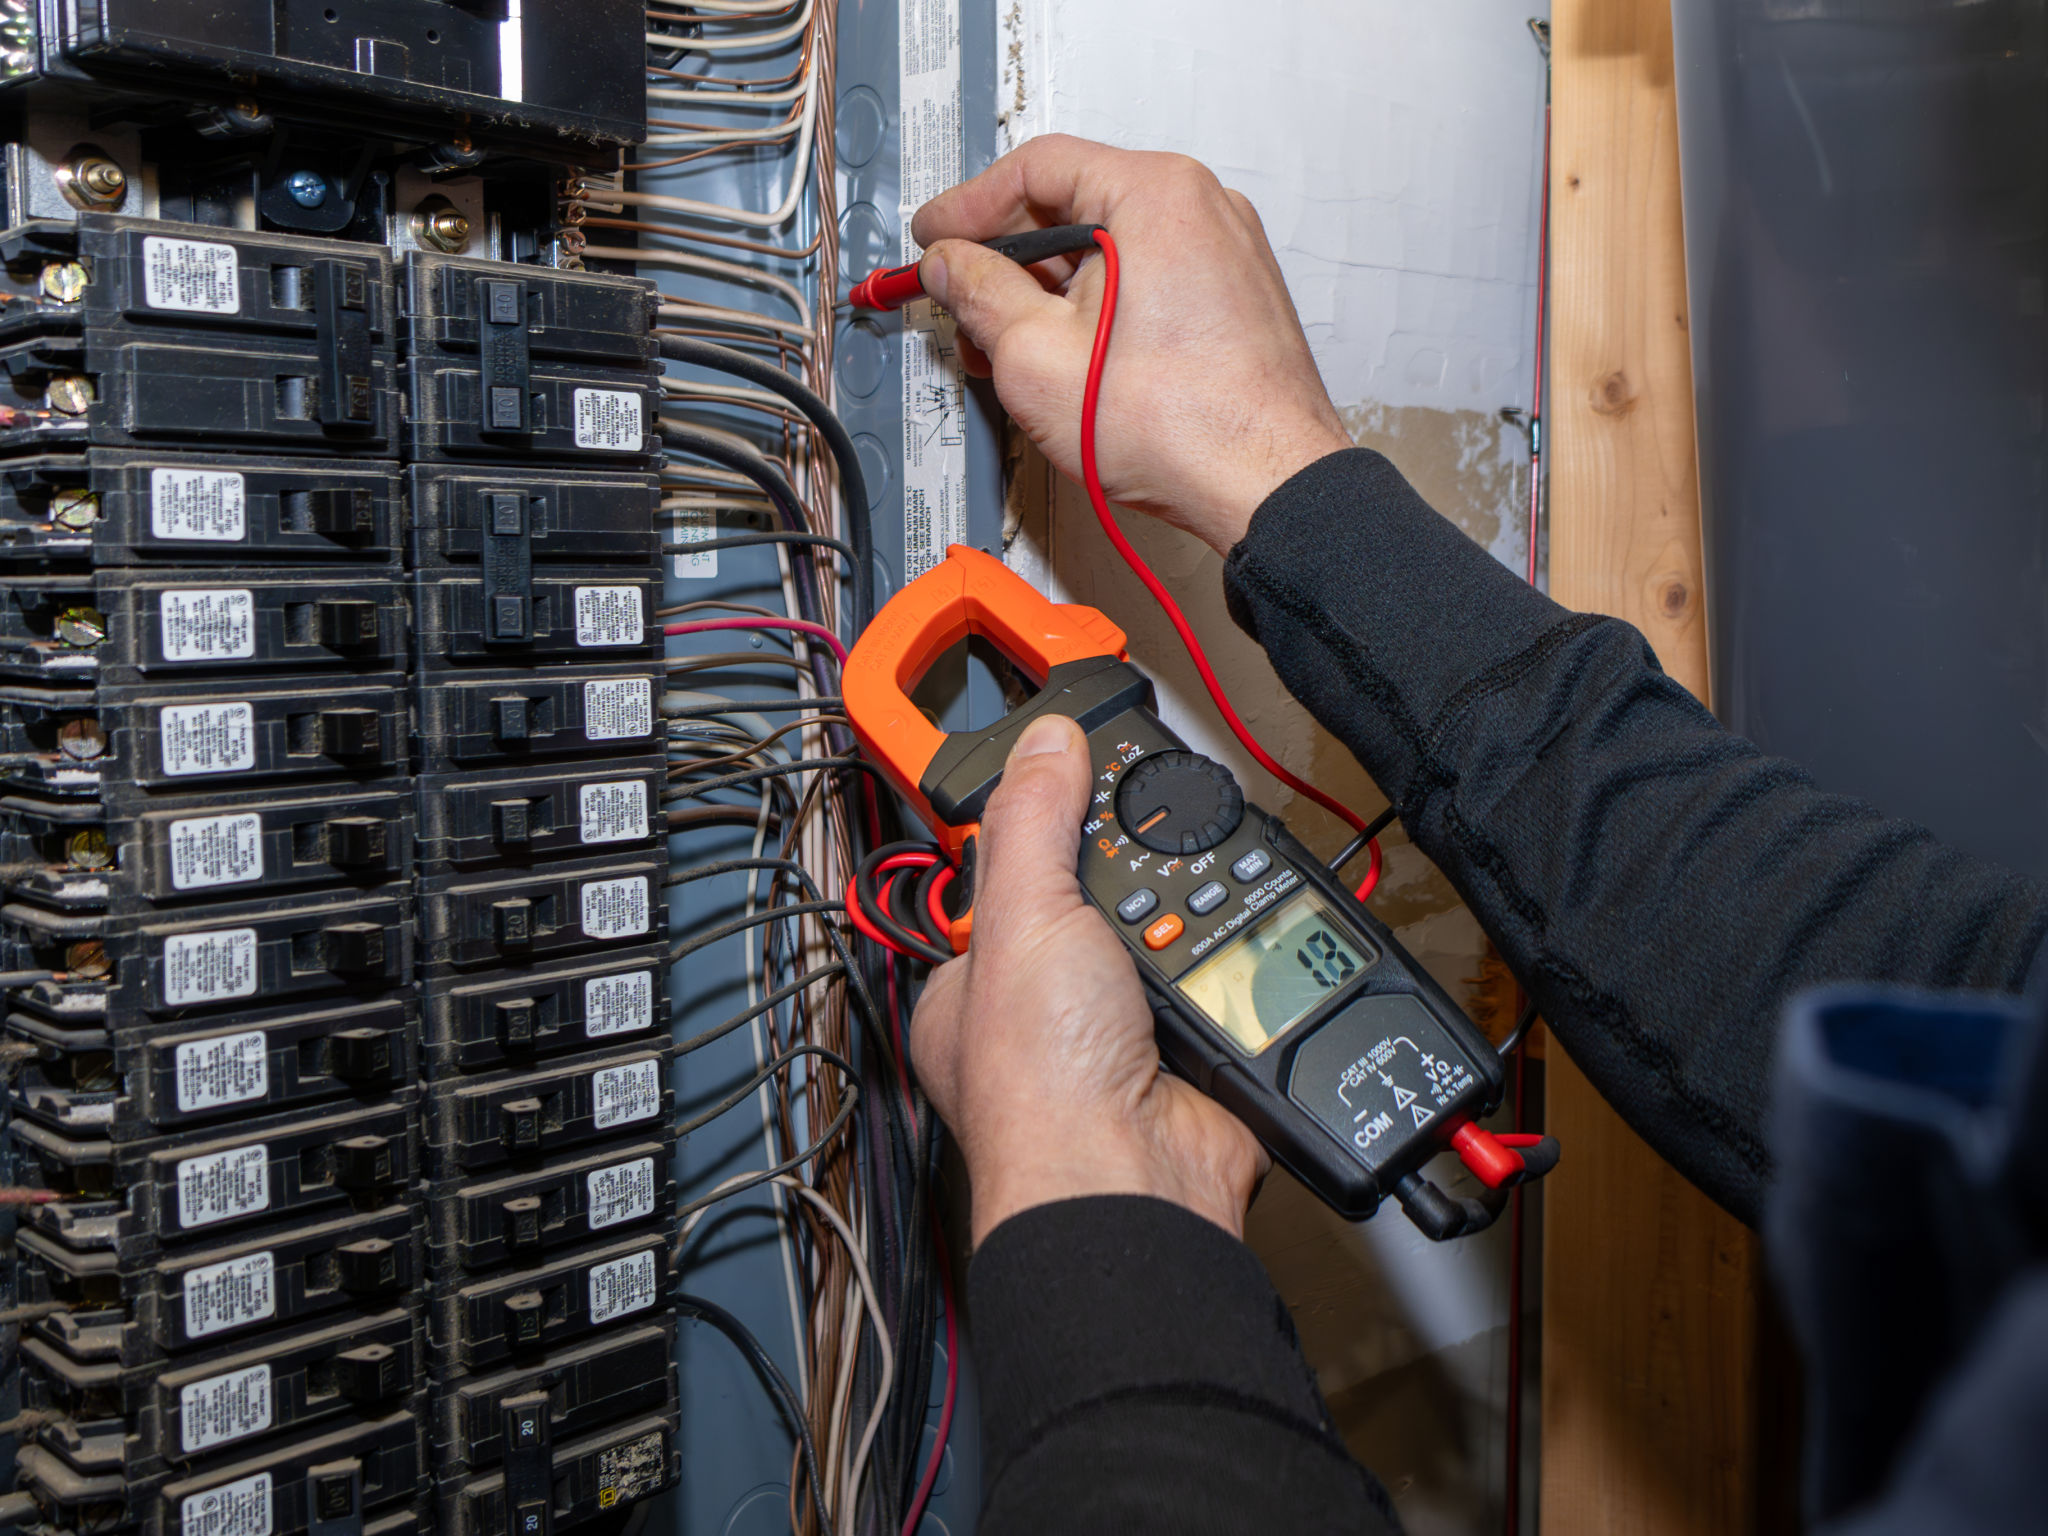
Safety should always be your top priority. Before you begin, turn off the power supply to the circuit where the fan will be installed. Use a voltage tester to confirm that the power is off. Wearing protective eyewear and gloves can also prevent potential injuries during the installation process.
Step-by-Step Installation Guide
Step 1: Remove the Existing Fixture
If you're replacing an existing light fixture, start by removing it. Carefully unscrew and disconnect it from the ceiling electrical box. Ensure all wires are safely capped and not exposed.
Step 2: Install the Fan-Rated Electrical Box
A standard electrical box may not support the weight of a ceiling fan. Replace it with a fan-rated box that can handle the additional weight and movement. Secure it firmly to the ceiling joist for stability.

Step 3: Assemble the Ceiling Fan
Most ceiling fans come with detailed assembly instructions. Follow these instructions to assemble the fan blades, canopy, and motor housing. Ensuring each component is securely fastened is crucial for safe operation.
Wiring and Mounting
Step 4: Connect the Wiring
With the fan motor on the ladder, connect the wiring from the fan to the wires in the electrical box. Typically, this involves matching colors: black to black, white to white, and green or bare copper to the ground wire. Use wire nuts to secure each connection.
Step 5: Attach the Fan to the Ceiling
Lift the motor housing into place and secure it to the installed bracket or directly into the fan-rated box. Make sure everything is tightly secured to prevent any movement or wobbling once in operation.

Final Steps and Testing
Step 6: Attach Fan Blades and Light Kit
Once the motor is securely mounted, attach the fan blades using screws provided in your kit. If your model includes a light kit, this is the time to install it by following the manufacturer's instructions carefully.
Step 7: Restore Power and Test
After completing the installation, restore power to the circuit. Test your new ceiling fan by turning it on at different speeds to ensure smooth operation. Check for any wobbling or noise that might indicate loose parts.
By following these steps, you can successfully install a ceiling fan in your Bethesda home, enhancing its comfort and style. If you encounter any difficulties or feel uncertain at any point, it's advisable to consult or hire a professional electrician to ensure a safe installation.